Straightening a bicycle rim may seem like a daunting task, but with the right tools and techniques, it can be easily accomplished. In this article, we will guide you through the step-by-step process of how to straighten a bicycle rim, ensuring that your ride remains smooth and safe. So, let’s dive into the details of how to straighten a bicycle rim.
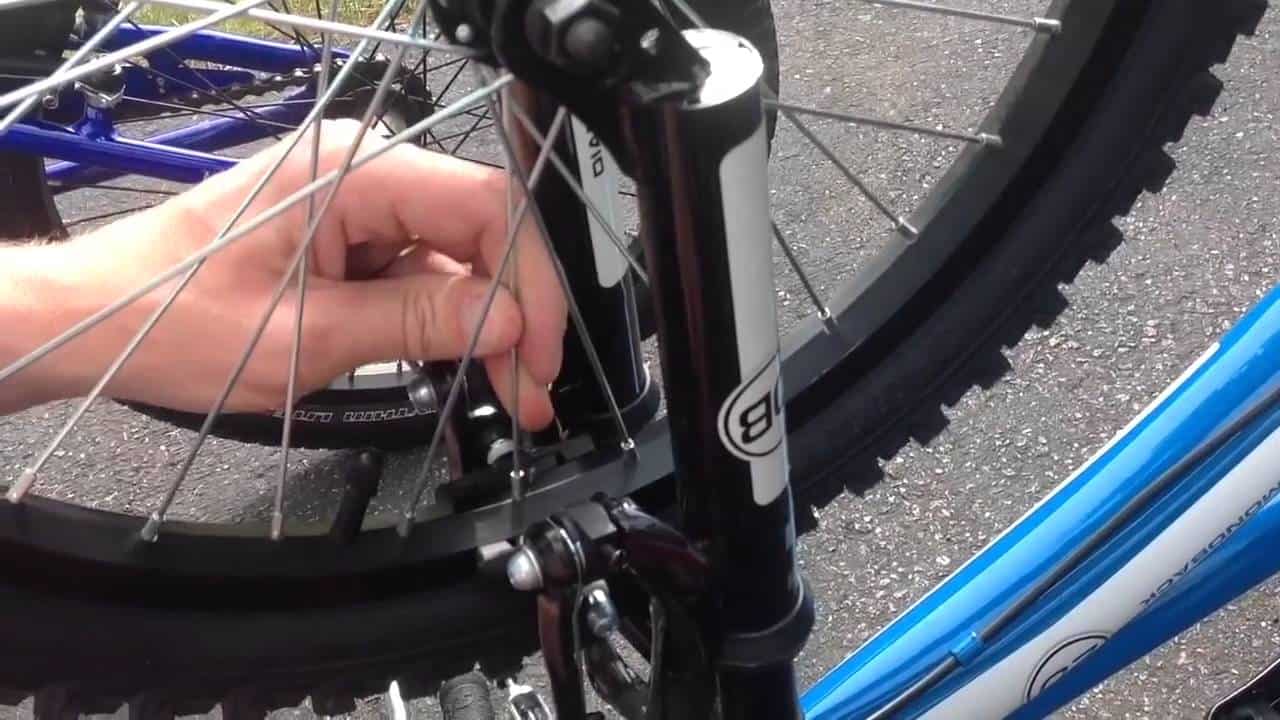
To straighten a bike rim like a pro, spin the wheel and identify wobbles. Use a spoke wrench to adjust spokes, pulling gently to straighten the rim. Make small, even adjustments, checking progress with each tweak. Ensure overall spoke tension for a smooth, straight ride. Practice and patience are essential.
Tools needed for straightening a bicycle rim
Before we begin, let’s gather the necessary tools for this task. Here’s what you’ll need:
1. Spoke wrench:
A spoke wrench is a specialized tool used to adjust the tension of the spokes on your bicycle wheel. It allows you to tighten or loosen the spokes, which is crucial for straightening the rim.
2. Adjustable wrench:
An adjustable wrench will come in handy for loosening and tightening the nuts that secure the spokes to the rim.
3. Truing stand or improvised stand:
A truing stand is a device specifically designed for straightening bicycle rims. However, if you don’t have access to one, you can improvise by flipping your bike upside down and securing it using zip ties or rubber bands.
4. Zip ties or rubber bands:
These will be used to secure your bicycle to the improvised stand, ensuring stability during the straightening process.
Identifying the problem areas on the rim
Before you start straightening the rim, it’s important to identify the problem areas. Here’s how you can do it:
1. Visual inspection for dents or bends:
Carefully examine the rim for any visible dents or bends. These can cause the wheel to wobble and affect your ride quality.
2. Checking for wobbles or unevenness:
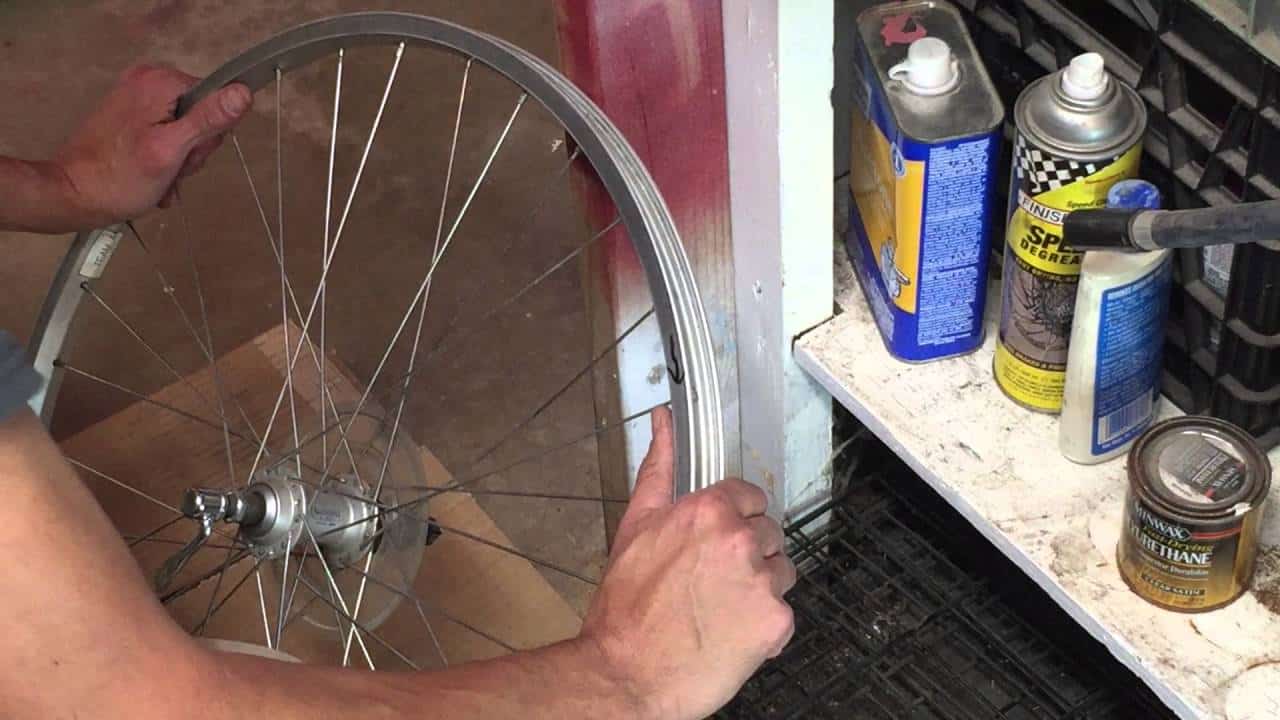
Spin the wheel and observe if there are any wobbles or unevenness. This can be an indication of a bent rim that needs straightening.
Loosening the spokes
To begin the straightening process, you’ll need to loosen the spokes. Follow these steps:
1. Using the spoke wrench to loosen all the spokes:
Start by using the spoke wrench to loosen all the spokes on the affected side of the rim. Loosening the spokes will allow you to manipulate the rim more easily.
2. Applying equal pressure to each spoke:
Once all the spokes are loosened, apply equal pressure to each spoke by squeezing them together. This will help distribute the tension evenly across the rim.
Using the truing stand or improvised stand
Now that the spokes are loosened, it’s time to use the truing stand or improvised stand to straighten the rim. Follow these steps:
1. Securing the bicycle on the stand:
If you have a truing stand, secure your bicycle onto it according to the manufacturer’s instructions. If using an improvised stand, flip your bike upside down and secure it using zip ties or rubber bands.
2. Rotating the wheel and observing the rim:
Spin the wheel and carefully observe the rim as it rotates. Look for any areas that are out of alignment or wobbling.
Adjusting the spokes to straighten the rim
With the rim in view, it’s time to adjust the spokes to straighten it. Follow these steps:
1. Tightening or loosening specific spokes:
Identify the areas of the rim that need adjustment and use the spoke wrench to tighten or loosen the corresponding spokes. Tightening a spoke will pull the rim towards it, while loosening a spoke will push the rim away.
2. Working in small increments:
Make adjustments in small increments, as sudden changes can lead to overcorrection. Gradually bring the rim back into alignment by adjusting the tension of the spokes.
Re-tightening the spokes
Once the rim is straightened to your satisfaction, it’s time to re-tighten the spokes. Follow these steps:
1. Using the spoke wrench to tighten all the spokes:
Starting from the valve hole, use the spoke wrench to tighten all the spokes on the affected side of the rim. Apply equal pressure to each spoke to ensure even tension.
2. Applying equal pressure to each spoke:
As you tighten the spokes, apply equal pressure to each one to maintain a balanced tension across the rim.
Final inspection and adjustments
After re-tightening the spokes, it’s important to perform a final inspection and make any necessary adjustments. Here’s what you should do:
1. Checking for any remaining wobbles or unevenness:
Spin the wheel once again and carefully observe the rim. Check for any remaining wobbles or unevenness that may require further adjustment.
2. Making additional adjustments if necessary:
If you notice any issues during the final inspection, make the necessary adjustments by tightening or loosening specific spokes as needed.
Conclusion
Straightening a bicycle rim may seem like a challenging task, but with the right tools and techniques, it can be easily accomplished. By following the steps outlined in this article, you’ll be able to identify problem areas, loosen and adjust the spokes, and ultimately straighten the rim to ensure a smooth and safe ride. Remember to take your time, work in small increments, and perform a final inspection to ensure the best results. Happy riding!
Originally posted 2023-06-30 10:55:15.


